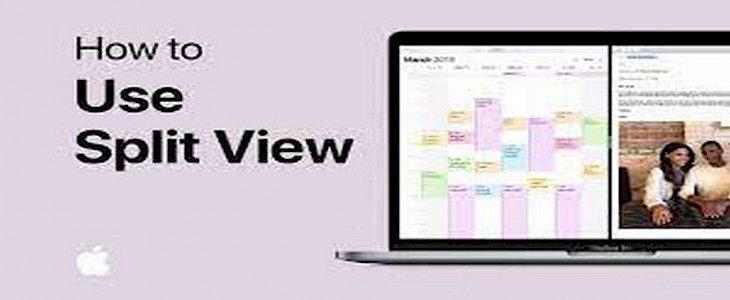
Are you an extreme MacBook user who just can't figure out how to handle too many open applications on your home screen?
Well, then why don’t you try the Split Screen feature on MacBook.
Here’s how you can do so…
What’s a split view
Imagine you have multiple applications and tabs open on your home screen.
You will have to drag and click on each one individually to switch between apps and tabs. That’s cumbersome.
That's when the Split View feature of macOS comes into play.
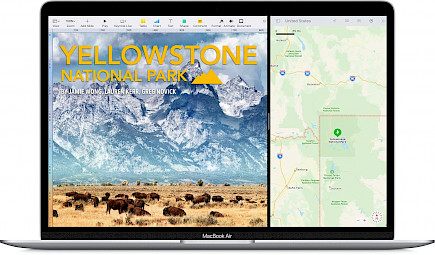
With the Split View turned on you can open multiple apps at once. The one you click on gets displayed centrally and others are hosted into smaller pop-up boxes. So, you can monitor all of them at once.
How to use Split View on your MacBook
To use the Split View on your Macbook:
- First, you have to make sure you are using multiple apps, split view will not work when a single app is open.
- Now choose a window of your preference.
- Locate the green dot located in the top left corner of the window and scroll over there with your mouse or trackpad.
- You will find a lot of options in the drop-down menu.
- In that menu click on the split-screen option and choose the alignment.
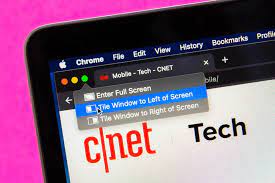
- Say you chose left alignment, the main window will be shown on the left side and the rest windows will be shown on the right side.
- Now you can choose any other app to represent on the right side from the rest windows.
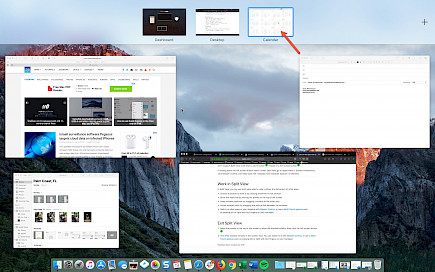
- Use the three-finger swipe to choose to view mission control, in there you can change windows on both sides of the screen.
- You can also switch sides and change the size of the split screens with your trackpad.
To exit Split view on your MacBook:
- On either window click on the green dot once again.
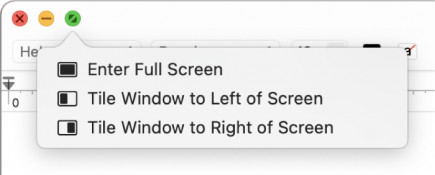
- Now click on Full Screen View.
And now you are back on your desktop screen in normal view mode.
And just like that you have successfully switched from single view mode to Split view within seconds and maximize the full potential of your MacBooks screen.
Winding Up
And that’s how you use Split View on your MacBook
Hope you liked the article. We will be back soon with other fun hacks and tutorials, until then. Stay Tuned, Good Day!


