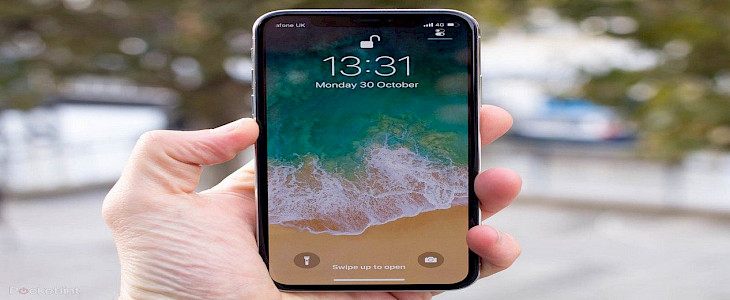
So, you have just bought a new iPhone. You are excited to use it and explore the numerous features it has to offer. But, before you do anything you have to set up your device.
Setting up an iPhone
Step 1:- The first and primary step is unboxing the device.
Take a cutter/ knife and open the factory seal to get inside the box.
Inside the box, you will find:- The device(iPhone), a USB Type-C Cable, Sim ejector tool, Some Apple-trademark stickers, and documentation paperwork.
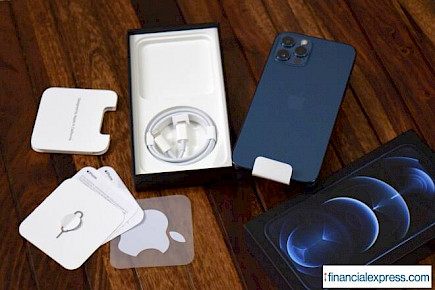
Once all the contents of the box are taken out, open your iPhone and remove the protective mesh that guards the screen.
Now click on the power button to toggle the device.
Step 2:- After the unboxing now you have to set up the password/ Face ID, language, date, and time.
- Press on the power button to toggle the device.
- Once the device opens a welcome screen/ opening screen will greet you.
- Now you need to connect your device with Wifi to set up time and language. You can do this by clicking on the “Wifi” option located in the bottom right corner of the screen.
- Once the Wifi is connected a new window opens showing you a list of countries around the world.
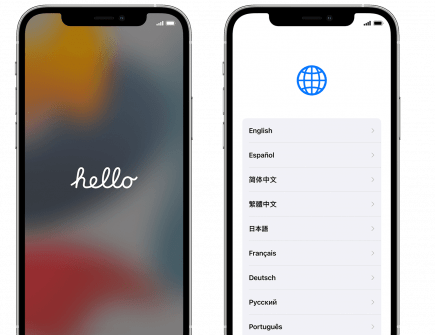
- Select your nationality. The AI will automatically set up time and other geographical data according to the time zone of your country.
- Now the device will give your the option to either set a Face ID or Password.
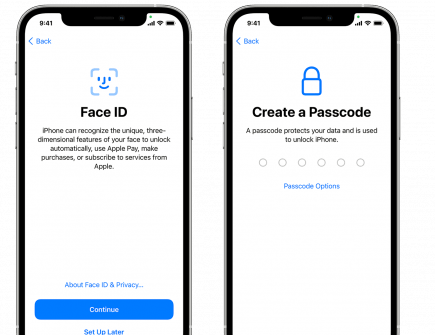
- Select your option of choice and follow the on-screen instruction until a password/ Face ID is created.
- The device will also ask for a backup login password, be sure to insert a strong password containing a couple of special characters.
Step 3:- Transfer of Information from the previous device. (this process is only applicable if you used an iPhone before and have an Apple ID that is backed up with iCloud)
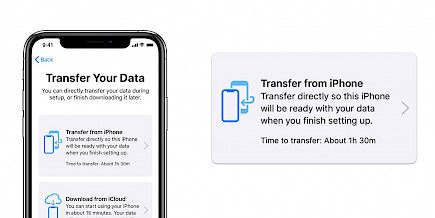
- Go to the Wifi option and turn it on.
- The moment your device is connected with Wifi you will receive a notification asking about transferring previous info from Cloud to your device.
- If you click yes, a new window will open where you have to input your Apple ID details.
- Then, you have to select a drive where the downloads will be housed.
- Now, you can either recover the old info from iCloud or press “Skip now” and move to the next step.
Step 4:- Setting up Apple ID
Apple ID is the all-in-one utility account that every Apple user has to create. To set an Apple ID:
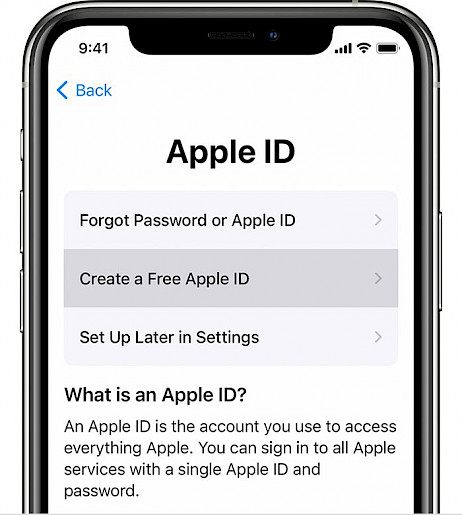
- Once you have opened your device go to “Settings”.
- Now open “System Preferences” and locate the “Apple ID” option.
- Click on the Apple ID option and fill up the necessary details.
- Click on “I agree” and allow your Apple ID all sorts of permission.
If you already have an Apple ID, you can simply:
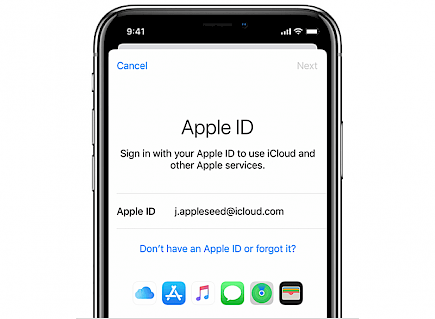
- Open settings and go to the Apple ID portal.
- Click on “sign up” and enter the necessary details.
- The whole processing will take a couple of minutes max. Once you are in your Apple ID you can download previously saved data from iCloud.
Step 5:- Setting up automatic Updates
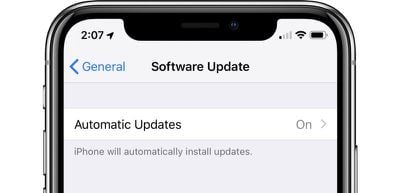
The next step is crucial.
Now the Interface will ask you whether you want the iPhone to update automatically or manually. If you are always connected to a Wifi network be brave and select automatic updates.
Step 6:- Setup the Voice Assistant
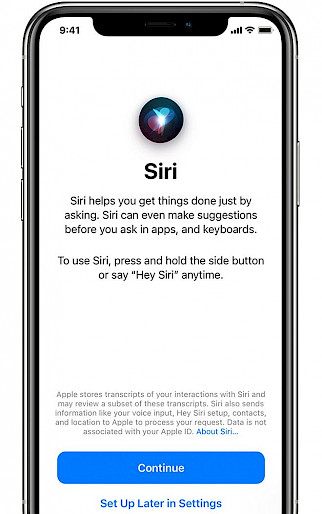
- Open “Settings” and go to “System preferences”.
- Locate the “SIRI” option and click on it.
- Enable Siri by toggling the functionality button located on the top left corner of the screen.
Now Siri is set up on your iPhone. You can optimize Siri for special voice commands and other functions later.
Step 7:- Setting up iCloud
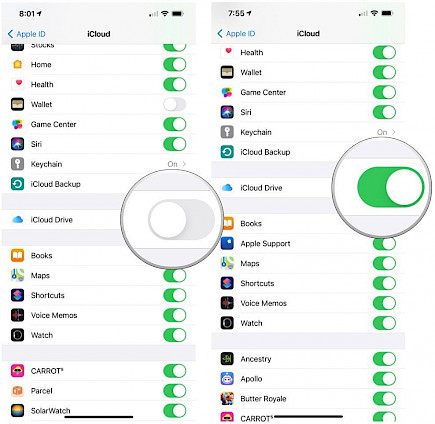
- Open “Settings” and go to “System preferences”.
- Locate “Apple ID” and click on it.
- Once you are inside the Apple ID portal locate the “Connect with iCloud” option and allow it.
Step 8:- Setting up the visuals
Here you can set up the color, gradient, contrast ratio, and other display functions of your iPad.
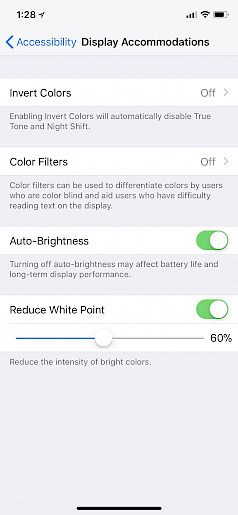
- Open “Settings” and go to “System preferences”.
- Click on “General” and scroll down.
- You will find various system display settings.
- Set them according to your choice.
Follow these steps to successfully set up your new iPhone and enjoy all the great features it has to offer. Good Day!


