Today we have brought to you an ingenious method of erasing your iPhone via iTunes.
Be sure to read this article till the very end to know it all.
How do you erase an iPhone via iTunes?
With the use of an iTunes account, the process of deleting your iPhone is possible with no hassle. It requires just the most basic of steps due to iTunes' interface. The iTunes interface
1. Plug your iPhone into your computer.
Connect the iPhone to your computer or Mac using the USB cable that came with it. It will launch the iTunes software and start in a sequence. If not, you'll need to start iTunes on your computer by hand.
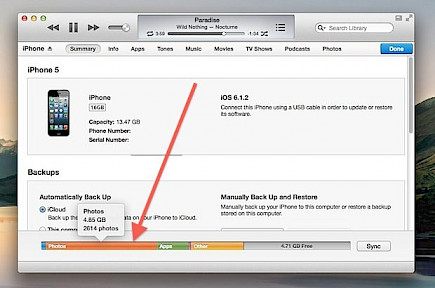
2. Open your iPhone's Summary menu.

When your connected iPhone is recognized by iTunes, the iPhone's icon will be shown within the "Devices" category in the iTunes interface. Simply click on it and then tap on "Summary" to access the "Summary" tab to enter the summary menu on your iPhone.
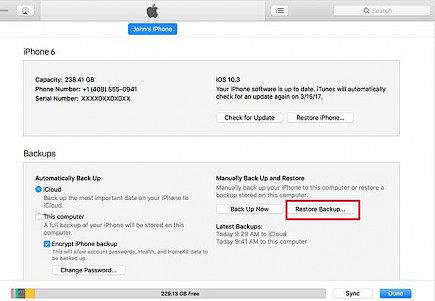
3. Tap on the "Restore" option to restore your iPhone.
Have you noticed you can click on the "Restore" option in the "Summary" tab of the iPhone? Click on "Restore" or the "Restore" option and there will be a pop-up that will ask you if you would like to wipe your iPhone's entire data and files.

Click "Restore" again to confirm it. "Restore" option again to confirm it. After that, iTunes will download the files and restore your iPhone.
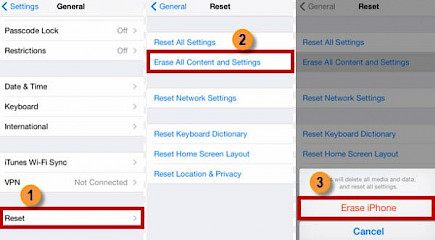
4. Delete all of the iPhone's content and data.

Once the process of restoring is completed, you can restart your iPhone, and you've completed the process of erasing your iPhone from iTunes.
Winding-up
And just by following these simple steps, you can erase your iPhone via iTunes.
Hope you like the article, we will be back soon with more tips and tricks on Apple devices. Until then, stay tuned and have a Good Day!


