
Have problems with your iPhone’s touch capability?
Well, why don’t you try the Assistive Touch feature?
Assistive Touch on iOS is specially designed for people who have limited hand strength or are having any problems with normal scrolling and tapping. Assistive Touch will help you to create custom shortcuts that you can set up to perform various functions.
Here’s how you can set up Assistive Touch on your iPhone.
Assistive Touch on iOS

Assistive Touch, as you can guess by the name is an ingenious feature that replaces normal multi-touch and swiping with single or multi-tap gestures.
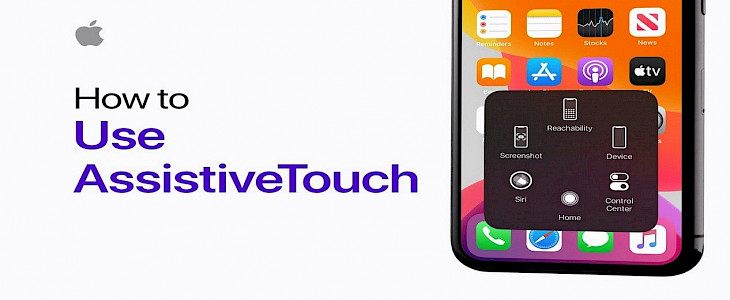
Once you toggle Assistive Touch on your device the standard soft keys will be replaced with an Assistive Ball that hovers around your screen. This Assistive Ball can later be customized to perform many basic functions that you may want.
Thanks to Assistive Touch, now even people who have limited dexterity can easily use their iPhones without having to take help from others.
Setting up Assistive Touch
To toggle Assistive Touch on your iPhone:
- Go to Settings and open General.
- In general open Accessibility.

- Not scroll to the very end of the Accessibility menu, where you will find Assistive Touch.
- Click on the Assistive Touch button to toggle it.

- Once the button turns green and the Assistive Touch Ball appears on your screen you are good to go.

- The Assistive Touch Ball can be moved to any part of your screen by tapping and sliding it.
To set up various functions in Assistive Touch:
- In the Assistive Touch menu, you will find various available modifications that you can apply.
- First of all, tap on the Assistive Touch Ball.
- A new menu will appear showcasing some basic functionality that you can get with just toggling Assistive Touch.

- Now click on the Custom option and choose and function that you want to use.
- Once you have selected the function click on done.
- Now, go back to the home screen and click on the Assistive Touch Ball.
- Click on custom and wait for it to perform your selected chore.
- If it performs what it's expected to perform you can move on to the next step, if not then redo the whole process.
To set up Multi-Tap Acessibity in Assistive Touch:
- Go to the Assistive Touch menu.
- In there you will find three options - Single, Double, Press & Hold, and 3D.

- You can customize each tap at your own will.
- Once you have selected your desired actions click Done.
And, just like that, you can customize the Assistive Touch in your iPhone.
Winding Up
And just by following these simple steps one can set up and customize Assistive Touch on their iPhone.
Hope you liked the article. We will be back soon with other fun hacks and tutorials, until then. Stay Tuned, Good Day!


