
Hello, there lovely Apple customers!
Do you still recall what was the very first "setting" you came across when you were setting up your new device? Well if you don’t - It was the language, location, and other miscellaneous settings.
Did you know that language, location, and IP address are some of the most tweaked settings on iOS?
So, we felt it was about time we laid forward a simple tutorial for you to follow if you want to change the language, location, or IP address of your device.
Here’s more…
How to change your IP address?
The IP address of your device is its unique identity on the web. Without it, nobody would be able to deliver you the valuable information you're looking for.
Most of the time, this identification (a publicly accessible IP address) is a temporary and dynamic ID. It is updated each time you move, either physically or electronically.
You will receive a fresh IP address on your iPhone each time you switch the mobile device's data connection to Wi-Fi, and you can reverse the switch, change to different internet providers, or employ the strategies that are described below.
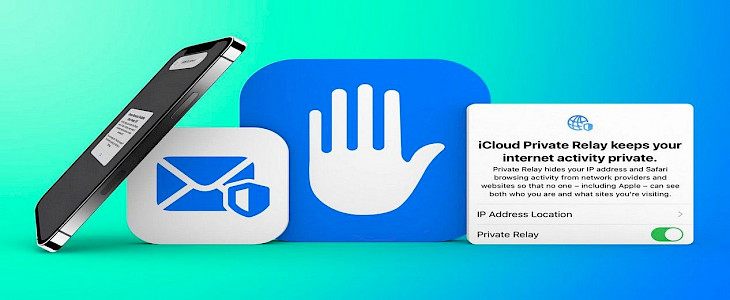
Your phone's public IP address
There are two kinds of IP addresses: private and public. We'll discuss the reasons why the public IP address is crucial for mobile devices and how frequently they change.

Private IP addresses are not included in the scope of this article since they're not used to connect to the internet.
What's Your Public IP?
If you're using an iPhone, your public IP address serves as the primary ID that allows your device to transfer and receive data online. In the absence of a publicly accessible IP, it wouldn't be possible to access WhatsApp, Facebook, or simply browse the internet.
But the "magical" public IP doesn't belong to your iPhone device but rather is assigned by devices that have higher authority, such as the home router's Wi-Fi setup as well as a mobile broadband core gateway. Public IP addresses are typically assigned dynamically and temporarily via the DHCP (Dynamic Host Configuration Protocol) protocol. Then, they are translated via NAT (network address translation).

They don't give a fixed IP address to each Wi-Fi device or router trying to join an online website or service. If they did, they'd have been out of IPs in the past. So instead, they dynamically assign IPs by analysing an IP pool in search of free IPs and then reusing these IPs.
This means that when you next open your iPhone, you could have a different public IP then you did before.
Use a VPN
VPNs or virtual private networks are the simplest and safest method to alter the address on your iPhone. A VPN allows you to utilise the IP address of servers as an online exit point while also encrypting your internet traffic and ensuring security by implementing a no-logs policy.
Furthermore, the top VPNs offer worldwide networks, which means you can select any server physically situated in a particular country or city and utilise the IP of that server to access the internet.
Here's how you can alter the IP address of your iOS device using a VPN:
- Choose a VPN that is compatible with iOS. Certain VPNs are more appropriate for iPhone gadgets than for computers.
- Start the Apple App Store menu and search for VPN options.

- Open the app's info icon. Log in and sign up to your account by entering your username, email address, and password, as well as other account details.
- After logging in, you can choose the IP address of your choice.
To change the language of your iPhone?
Suppose you somehow choose the wrong language or are willing to shift to another language. In that case, you can follow the below steps to change the language on your iPhone:

- On the home screen, click Settings.
- Then, click general.
- Scroll down and then select language and region.
- Now, tap on the device language.
- Select the language of your choice.'
To change the location of your iPhone:

- Open the Settings app.
- Tap your name, then select Media & Purchases.
- Tap View Account. You may be required for a password.
- Click on Country/Region
- Tap on Change Country or Region.
- Select the new region or country and then read the Terms and Conditions.
- Tap Agree on the upper right corner, and then press Agree to confirm.
Winding-up
And here goes our tutorial on how to change your iPhone’s location, language, and IP Address.
Hope the article was helpful. You can show us your support by commenting on any future tutorials you want us to cover. Also, do not forget to visit us again for more great content, jailbreak and news.
Good Day!


