
You don't have to keep a display in landscape mode all of the time. Here's how to set up a second screen as a vertical monitor and make macOS operate with it.
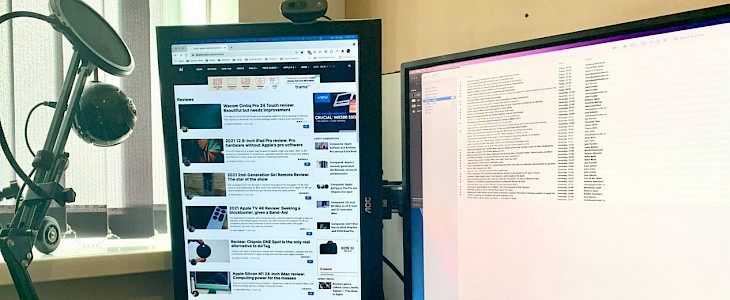
One of the benefits of obtaining a new monitor is that you now have two screens, in addition to potentially boosting the image on your main display. You have a second monitor that you can connect to your Mac simultaneously, giving you more workspace to work with when you're doing jobs. You don't have to stay to the conventional landscape orientation, like certain movies and TV programs have proven, as well as various photographs of computer sets on Reddit and elsewhere. Some people who have two monitors utilize the secondary screen in a portrait configuration instead of keeping them both horizontal.
This may appear to be a nice and stylish concept, but getting the screen to operate on its side requires some effort materially and in software.
What are the benefits of vertical monitors?
One of the most obvious reasons for applying a display is a lack of area. Even when set at a small angle to each other, not everyone has the workspace to put two large and broad monitors next to each other on a desk.
By rotating a monitor, you may reduce the amount of horizontal desk space that the two screens take up. Having two broad screens means you'll have to swivel your head a lot more to view anything on each. This decrease in width preserves the usable workspace provided by two screens, but it means you won't have to transfer your attention or move your head as much to get from the setup's leftmost edge to the right-most edges.
A vertical screen makes it much simpler to scan pages fast in exceptionally long web items, such as government files or patents. This is also handy for developers going over many lines of code and other places where there is a large amount of text or data to examine.
If you're creating iOS-based software, seeing your app span a wider vertical screen might be beneficial. Artists may also like viewing their work on a display like this, as it eliminates the dead screen space on either side of a portrait-oriented piece.
Naturally, viewing pages in portrait mode requires significantly less scrolling than reading pages in landscape mode.
Managing monitor rotation in macOS
On the software side, there are a few things you'll need to do in macOS to manage the rotation and display placement inside the desktop.
How to rotate a monitor in macOS
- Select Displays from the System Preferences menu.
- Choose the settings window for the rotatable monitor. It normally appears in the center of the rotating screen.
- Select 90 degrees or 270 degrees from the selection box labeled Rotation.
- Click Confirm if it has rotated appropriately in the Confirm new display setting pop-up window.
That's the most important part of setting up the display's rotation, but there are a few additional considerations. In my instance, macOS wasn't picking up the native resolution of the rotated monitor correctly, so I had to alter it.
To do so, select Scaled from the Resolution drop-down menu, then the appropriate resolution. If macOS only offers a few resolutions and not the one you desire, hold down the Option key while choosing the Scaled option to bring up the entire selection.
How to adjust the position?
You'll also need to adjust the monitor's position on the macOS desktop to match its real placement. The same Display menus may be used to modify this.
How to arrange your upright monitor in macOS
- Select Displays from the System Preferences menu.
- From the main menu, choose Arrangement.
- Within the menu, adjust the vertically oriented monitor's location in relation to the primary display to match the actual positioning as closely as possible.
Click and drag the bar from the current main display box to another display inside the menu to change which display is the primary display.


