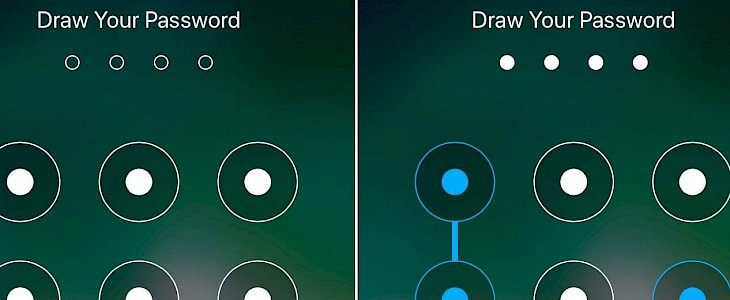
Do you worry about someone guessing your passcodes and breaking into your iPhone? Maybe you're concerned that someone would figure out the passcode and gain access to your data? If that is the case, you might be interested in learning how to set your iPhone to erase all of its data after numerous failed passcode tries.
When you input the incorrect passcode five times in a row, the iPhone typically locks you out for one minute. You'll be able to try entering the passcode again within a minute. If you repeat entering the incorrect passcode, the iPhone will be disabled for a more extended period.
This continues until the iPhone entirely locks you out, prompting you to wait a bit or connect to iTunes with a notification that says "iPhone is disabled." There is, however, a hidden function that allows you to protect your data by self-erasing your iPhone after ten failed passcode tries.
The obvious benefit of this feature is that after 10 failed password tries, no one will be able to access any of the iPhone's data (or iPad). However, if you forget your passcode or find yourself in a position where a child, fumbling, or pocket touch accidentally inputs 10 erroneous passcode attempts, your data will be permanently deleted.
You can set your iPhone to delete automatically after numerous failed passcode tries if you understand the risks and benefits of this functionality.
How to Erase iPhone After 10 Failed Passcode Attempts Automatically
Regardless of what iPhone model you have or what iOS version it runs, setting up automatic erase is a fairly basic and uncomplicated task. To get started, simply follow the steps below.
- From the home screen of your iPad or iPhone, go to "Settings."
- Scroll down in the settings menu to "Face ID & Passcode" or "Touch ID & Passcode," depending on which iPhone you have.
- To access the settings, you'll need to enter your passcode. Enter the passcode to continue.
- Scroll to the bottom of the said page and use the toggle to set up "Erase Data."
- You'll be asked to confirm your options now. To confirm, tap "Enable," and you're set to go.
That's all; you've programmed your iPhone to wipe itself after 10 failed passcode tries.
If someone tries to break into your iPhone, they have ten attempts before all of the data on it is automatically erased. They wouldn't have access to any of your personal information, such as images or other essential files, this way. Of course, if you forget your passcode, the iPhone will wipe itself after 10 unsuccessful attempts.
Remember to backup your iPhone to iCloud or create a local backup via iTunes or Finder to ensure you don't lose your data forever if something like this occurs. This protects all of your data and allows you to restore the iPhone (or iPad) from a backup if the device accidentally erases itself.
You'll need to set up and configure your iPhone as a new device once the data on your iPhone is automatically destroyed after so many failed passcode tries, and then go through the basic set-up procedure all over again, where you'll discover the option to back up.
This is a useful security feature, especially for customers in higher-risk areas or who simply want additional peace of mind if their iPhone is lost or stolen.


