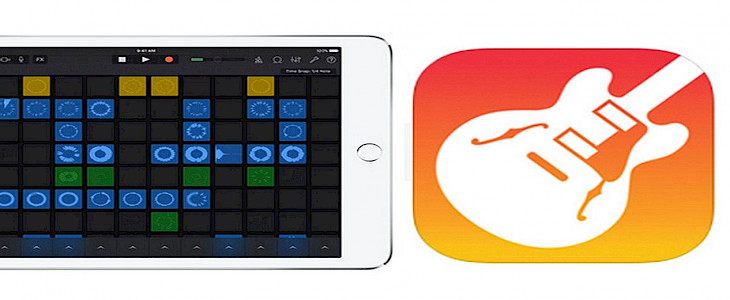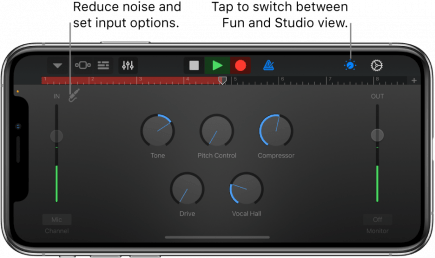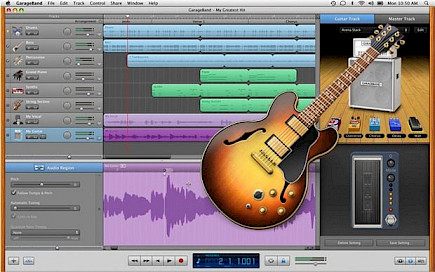
GarageBand is an amazing macOS, iOS-based audio editing software that is really famous among young music enthusiasts and producers. In one of our previous articles, we have talked about the functionalities of GarageBand. So, today, we felt, let’s add to that.
Thus, here in this article, we are going to talk about- How to install GarageBand on an iPhone and discover the world of functionality it holds. So, without further ado. Let’s begin.
What is GarageBand?
GarageBand allows you to create music and podcasts with a range of digital audio workstations that are available for macOS, iPadOS, or iOS devices. GarageBand was originally developed by Apple for macOS and is part of the iLife suite that includes iMovie, iDVD, and iMovie. Users may use preset MIDI keys, loops, and a range of other instrumental effects to create numerous tracks with the music and podcast production tool.
History
GarageBand was created by Apple under Dr. Gerhard Lengeling. Dr Lengeling was previously with Emagic, the German company that makes Logic Audio. Emagic was acquired by Apple in July 2002. And thus began the story of GarageBand. GarageBand was first made public at Macworld Conference & Expo in San Francisco on January 6, 2004, by Steve Jobs and accompanied by musician John Mayer. Since then, GarageBand has only grown and grown.
Features of Garageband
- Audio recording
- Virtual software instruments
- Guitar features
- MIDI editing
- Music lessons
Audio recording

GarageBand can playback and record multiple audio tracks. Built-in audio filters that employ the AU (audio unit) standard enable the client to improve the audio track with a variety of effects like reverb, echo, and distortion.
GarageBand allows you to record at a fixed sample rate of 44.1 kHz with a 16-bit or 24-bit audio resolution. When adjusted to the highest level, the integrated tuning mechanism aids in pitch correction and may successfully replicate the Auto-Tune effect.
Virtual software instruments

GarageBand comes with a plethora of realistic, sampled instruments as well as software-modeled synthesizers. These may be used to produce unique compositions or to perform live music by connecting a USB MIDI keyboard to the computer. A standard QWERTY keyboard can also be used for "musical typing".
The synthesizers can be divided into two groups: digital and virtual. Many parameters can be adjusted by each synthesizer, such as richness, glide and cutoff, standard attack, decay or sustain, and release. This allows for an unlimited number of sounds to be created.
Guitar features

Garageband lets you create guitar-specific tracks. You can use various stompboxes and effects processors in addition to the standard tracks. Orange Music Electronic Company, Marshall Amplification, and Fender Musical Instruments Corporation are among the firms whose hardware is imitated in these tracks.
The virtual amplifiers can have up to five effects layered on top. These parameters include volume, tone, reverb, and volume. Macs can connect to guitars via the built-in input. This requires hardware capable of producing a stereo signal using a USB interface or a 3.5mm output.
How to get the GarageBand app on your iPhone
To install GarageBand on your iPhone:
- Open your device and go to the “App Store.”
- Once you are in the Appstore, search for ”GarageBand”.
- Click on the first option on the list and tap on download.
- Wait for the installation to complete.
And just like that, you have downloaded GarageBand on your iPhone.
To set a Ringtone with Garageband
To set a new ringtone via GarageBand, follow these simple steps:
- To begin, download and install the GarageBand app from the App Store. In order to make use of this process, your iPhone must be running iOS 11 or later.
- On your iPhone, open the “Garageband” app. Pick an instrument that is accessible to you. It makes no difference whether the instrument you use is the same because the method is the same. In this case, we'll go with the Keyboard.
- When the instrument is open, press the "project" icon to launch your audio recording; press the "loop" symbol in the top-right corner of the screen.
- Make sure you're in the Music area now and look for the song you want to use as a personalized ringtone. To access a song in GarageBand's project menu, hold down the long-press button on the song you wish to utilize. Because the first track is reserved by default for the instrument you selected, drop the file as the second track. Tap and drag the ends of this track to trim the audio recording according to your preferences. If required, you may rewind it using the “Play” symbol at the top. However, you can turn off the irritating metronome by tapping the symbol to the right of the "record" icon.
- Make sure your clip is under 40 seconds long once you've finished modifying it. Select "My Songs" from the "downward arrow" symbol in the top-left corner. Your GarageBand project will appear as "My Song" in Recents. To get more possibilities, hold the button down for a long time. Now, tap on “Share.
- To export your creation as a ringtone, choose “Ringtone.” You may now name the ringtone whatever you like. When you're finished, go to the top-right corner of the screen and hit "Export."
- Once the export is complete, go to GarageBand and select "Use sound like" to make it your default ringtone. You may set it as your normal ringtone or as a text tone here. You also have the option of assigning the sound to a certain contact. However, if you simply want to add it to your current ringtones, choose "Done."
And just like that, you have set a new ringtone.


