
If you like to experiment with fonts and use various fonts for your projects, then you may be familiar with the font book.
The font book enables the user to download additional fonts and install multiple styles. If you have been using this phone book for a more extended period, you may need to keep them organized.
One way of keeping them organized is by creating a collection or the smart collection, but the other way is by creating and using a library.
How to create a library in Font Book?
Font book app is an app for mac devices. To create a library in it, you first need to launch a font book on your device.
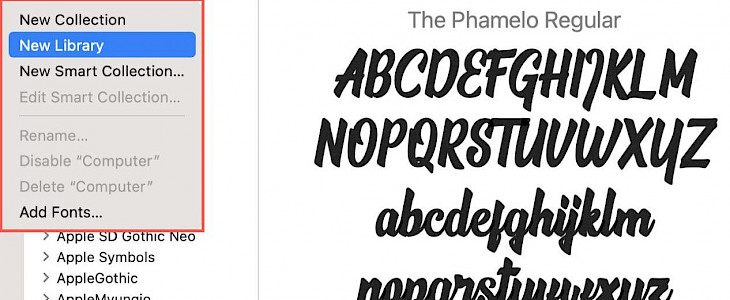
Go to the file and select the new library from the menu bar; you can also right-click the library section and tap on the new library option. Rename your library and hit return.
Adding fonts to the library
Adding fonts to the library is very simple just click on the plus icon present on the top right. You can also right-click the library and select add fonts option. Browse multiple fonts and select the one you want to add, and click open.
Editing the library
You can edit a library by clicking on my new library option. You can rename it, disable or delete it.
Setting the library as the default location for new fonts
You can choose your library as the default location for the new fonts with few clicks only.
Go to the font book and tap on ‘preferences’. Now select the library name in the dropdown list for the default install location.
You can check the box to resolve duplicates by moving files to the trash. If you want your font to be available to everyone, you can select the computer in the dropdown list.
Conclusion
The above-mentioned steps are very useful in creating and using a font book library. Using it, you can group 2 fonts together or switch between various fonts easily.


