
Try the built-in Color Balance feature on your Apple TV if you want the most accurate color reproduction. You can use this feature to accentuate your viewing experience without messing with your TV's settings if you have a compatible iPhone.
The color balance function on Apple TV allows you to aim the front camera of your iPhone at the TV in order for it to find ways to enhance the video quality of the set-top box.
Your Apple TV will tell you what it changed and show you the difference between the original calibration and the balanced version until the color calibration is full.
It's important to remember that your Apple TV has no effect on the picture settings on your television. Instead, your streaming box adjusts the video it sends to your TV to compensate for any color problems with your show.
As a result, if you change inputs or play video from a source other than the Apple TV, these color corrections will be absent.
Which Models of Apple TV Support Color Balance?
Color Balance is a feature that was first introduced in the Apple TV 4K in 2021, but it is also available on older Apple TV versions.
The following is a list of versions that are supported:
- 4K Apple TV (Second Generation)
- 4K Apple TV (First Generation)
- HD Apple TV
To use Color Balance, you must have tvOS 14.5 or later installed.
Which iPhone can Use Color Balance?
To use Color Balance, you'll need an iPhone with a Face ID. Unfortunately, some iPhones, such as the iPhone SE, are missing this feature. You're good to go if you are equipped with an iPhone X or newer with Face ID.
This feature first appeared in iOS 14.5, so you'll need that or later versions of iOS to use it.
Adjust Color Balance on Apple TV Using your iPhone
Follow these steps to use and adjust Color Balance on your Apple TV using your iPhone:
Step 1: Open 'Settings' on your Apple TV.
Step 2: Select ‘Video & Audio’
Step 3: Below Calibration, open 'Color Balance'.
Step 4: Now it's time to unlock your iPhone. You'll be asked about whether you want to use Color Balance in a prompt. Continue by pressing the 'Continue' button.
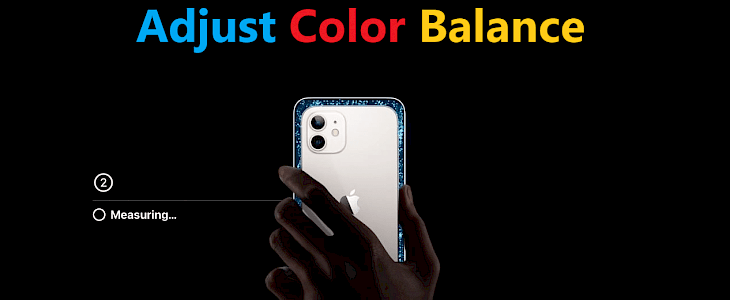
Step 5: An iPhone-shaped box will appear on your television. Hold your iPhone three inches away from this on-screen box, with the front camera facing the TV.
Step 6: The Color Balance process will begin on your Apple TV. Keep your iPhone as near as possible to the television. On our first attempt, we got a calibration failed error, but moving your iPhone closer to the screen fixed the issue.
Step 7: Your Apple TV will show a confirmation message until the calibration is complete. Select 'View Results'.
Step 8: The Apple TV will now show one of its screensavers, with the options Original and Balanced at the bottom. You will see what the initial color calibration looked like by swiping left on the Apple TV remote.
Step 9: To see what the color-calibrated panel looks like, swipe right. After you've finished comparing, click 'Use Balanced' to complete the process.
Step 10: If you don't like the changes, choose 'Use Original' to return to the previous calibration.
Step 11: An alert message will appear on the Apple TV, asking you to confirm which calibration you want to use. Click the red 'Use Original' button if you want to return to the default settings.
Step 12: If you change your mind, you can always go for the color-calibrated version by selecting 'Use Balanced'.
Check out more awesome tips and tricks about Apple products on our website!


