
Another fun tutorial for Final Cut Pro users.
In one of our previous articles, we had briefly talked about how you can transfer Libraries from your Mac to an external hard drive.
But, what if you want to move Libraries directly from one Mac to another?
Well, in that case, you need to consolidate the Libraries. And, here's how you can do so…
Before you start
Before you start moving your library there ate a few things that you should take care of.
Firstly, all the previous data must be saved on the library manually.
Secondly, whilst moving Libraries from one Mac to Pc/ Mac the files may get corrupted. Thus,s to prevent that one needs to consolidate the media and other contents to a specific Library.
This makes the file fine identifiable and eventually saves you space.
And lastly, whenever you move a Libray from one Mac to another some basic plug-ins get lost in the process. Now, you have to make sure that the other Mac has all the latest plug-ins needed to extract resources from the Library.
To do such you just have to keep your Final Cut Pro app updated from time to time. Each update brings some special plug-ins that help in reading foreign Library files.
Consolidating a library
To consolidate a library in Final Cur Pro:
- Open Final Cut Pro on your MacBook.
- Now go to Projects.
- Then click on the Libraries icon located on the top-left corner of the screen.
- Now select the Library you want to move.

- Right-click on the chosen Library to open the Library Inspector Settings.
- In the library Inspector Menu, click on Modify.

- Now you can choose any file you want to modify.
- Take a look at all the properties and make any changes required.

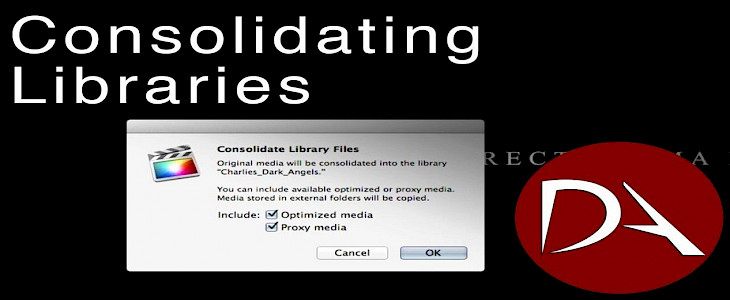
- Now all you have to do is click on the consolidate button located on the bottom right corner of the Library Inspector Menu.

The whole process of Consolidation will not take anymore than 2-4 minutes. In case, a problem occurs you can view the progress in Window > Background Tasks and make changes or restart the process.
When the consolidation is finished you can simply move to another Mac or external hard drive. The consolidated libraries will automatically open of final Cut Pro with a double-click.
Winding-Up
And just by following these simple steps, one can consolidate Libraries are flies of Final Cut Pro before transferring them.
Hope you liked the article. We will be back soon with other fun hacks and tutorials, until then. Stay Tuned, Good Day!


