
AirPods are probably the best earphones that you can get for your iPhone.
Secure, fast, and reliable, AirPods has everything that makes it a perfect accessory for any and every user out there. But, the best feature of AirPods has to be their customizability.
In some of our previous articles, we had briefly talked about new updates and feature about your AirPods and how you can use them. But, in today’s article, we are planning to go back to the very basics.
As of today, we will give a guided tutorial on how you can rename your AirPods/ AirPods with your iPhone.
Thus, without further ado.
Let us begin…
Various customizations available on AirPods / AirPods Pro
As of now, an AirPod/ AirPods Pro has numerous modes by which you can customize them, and some of them are…
For Standard AirPods:

- Setting names for your AirPods.
- Audio control.
- Ambiance Control.
- Transparency Mode
- Vent system for pressure equalization.
- Custom high dynamic range amplifier.
- Adaptive EQ.
- Noise Cancellation control.
- Touch Control, etc.
For AirPods Pro:
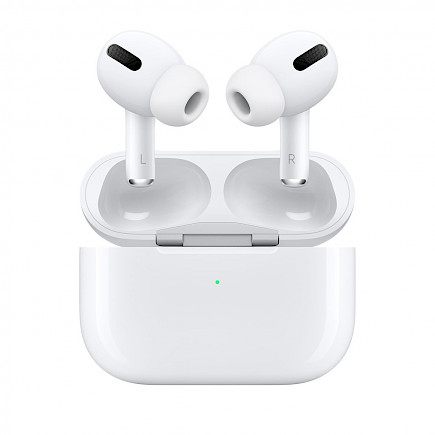
- Setting names for your AirPods.
- Audio control.
- Ambiance Control.
- Vent system for pressure equalization.
- Custom high dynamic range amplifier.
- Adaptive EQ.
- Transparency Mode.
- Noise Cancellation control.
- Touch Control
- In-ear fitting assistance.
- Spatial Audio assistance, and more.
Customizing your AirPods
To customize your standard AirPods you have to first make sure:
- That your device supports a direct connection with Bluetooth 4.0 or higher.
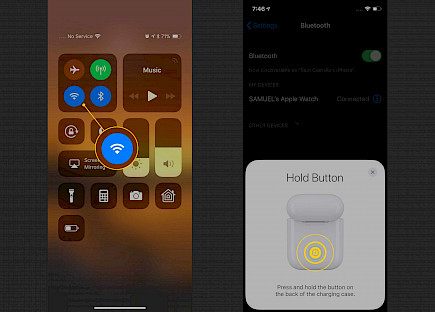
- That your device is connected to your AirPods.
Renaming your AirPods
To rename your AirPods:
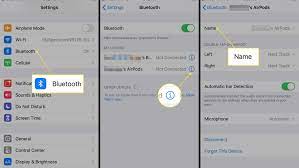
- First of all, make sure your AirPods are connected to your iPhone.
- Now go to the setting menu.
- Open Bluetooth.
- Look for AirPods under connected device, click on it.
- Once inside the AirPods menu you will see the AirPods will appear under the default name of “AirPods User”.
- Click on the information button beside the default name.
- Now you can change the name of your AirPods to whatever you may fancy.
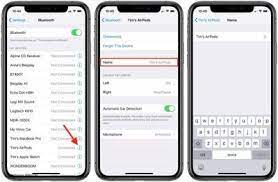
- Go back to the previous page to make sure the name is saved.
You can disconnect and reconnect your AirPods to make sure the naming is completed or not. If not, then repeat the given steps.
Customizing your AirPods Pro
To customize your AirPods Pro you have to first make sure:
- That your device supports a direct connection with Bluetooth 4.0 or higher.
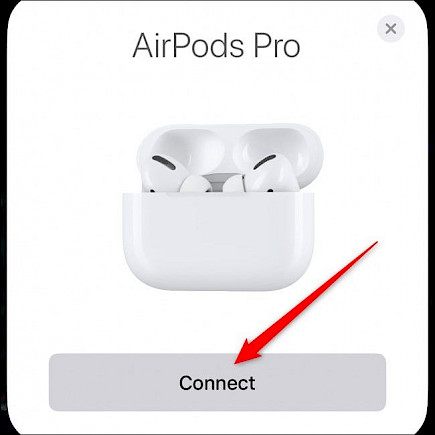
- That your device is connected to your AirPods.
Renaming your AirPods Pro
To rename your AirPods Pro:
- First of all, make sure your AirPods are connected to your iPhone.
- Now go to the setting menu.
- Open Bluetooth.
- Look for AirPods Pro under connected device, click on it.
- Once inside the AirPods Pro menu you will see the AirPods will appear under the default name of “AirPods User”.
- Click on the information button beside the default name.
- Now you can change the name of your AirPods to whatever you may fancy.
- Go back to the previous page to make sure the name is saved.
- You can disconnect and reconnect your AirPods Pro to make sure the naming is completed or not. If not, then repeat the given steps.
And just like that, you have successfully changed the name of your AirPods.
Winding-up
And just by following these simple steps, one can change the names of their AirPods/ AirPods pro within a minute.
Hope you liked the article. We will be back soon with other fun hacks and tutorials, until then. Stay Tuned, Good Day!


