
Are you an iPhone user? If yes - Good! If no - Doesn’t matter, we insist you read this anyway!
How much do you love your device or, how dependent your life is on your device? No matter what your answer is, we all can agree that getting any mobile device wet is the worst-case scenario a smartphone user can come across. Theoretically, water is the biggest enemy of electronic components as it hinders the productivity of the circuits by heating them up and often causes them to burn out.
Water - “The universal solvent”, “The life-giving fluid” no matter what you call it. It is not something you don’t associate electronic components with. Even a little bit of water can cause a large power circuit to break down within hours. So, why does this happen?
Why is Water so bad for electronic components?
Water is a fluid constituted by 8 parts Oxygen to 2 parts Hydrogen. Whereas most electronic circuits are made of metals like gold, tungsten, nickel, steel, etc. Whenever water enters your circuit it reacts with the metals and induces corrosion, mal-functioning, and shutting down of smaller components like MOSFETs and resistors.
If water is left for a prolonged period on electronic circuits it slowly starts to interfere with the wiring of the components and forces them to burn out.

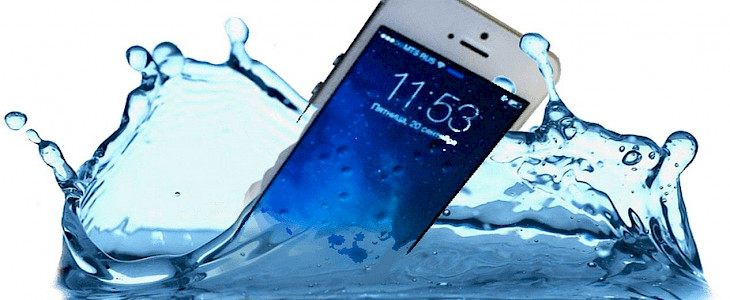
So, worst-case scenario - your iPhone is wet. You have dropped it in a bucket, in your toilet or it got drenched by rainwater. These are the steps you should follow to save your wet iPhone.
Step 1:- This is the first and most crucial step.
The first you will have to do is suck out as much fluid from your iPhone as possible. For this, you will need a vacuum cleaner.
- Attach a pipe with the suction hole of the vacuum cleaner.
- Cup your hands on the mouth of the pipe so you can control the suction manually.
- Make sure your iPhone is switched off and your sim card is removed.
- Now switch the vacuum on in the mid-power setting.
- Move the suction hole carefully along the charging ports, audio output holes, sim slot, and other places from where any fluid can enter the device.
This whole process will take around 20-30 minutes if you do it carefully.
If you don’t have a vacuum cleaner then, a hairdryer will also work fine.
- To the rear end of the dryer attach a straw or a thin pipe and fasten it properly with duct tape.
- Cup your hands near the mouth of the pipe to manually control the suction and follow the same steps given above.
This method will take a little more time but will do the work perfectly.
Step 2:- Now all you need is a pillowcase and the vacuum cleaner/ hairdryer.
- Attack a pipe with the exhaust end of the vacuum cleaner.
- Wrap your phone in a piece of cloth and put it in the pillowcase.
- Insert one end of the pipe in the pillowcase where you have the iPhone and seal the end properly with duct tape.
- Switch the vacuum cleaner on.
The strong breeze from the vacuum cleaner will help to dry out the last bit of fluid that has seeped into your device. This process will take up to 2-3 hours.
Step 3:- Contact the nearest Apple Store/ Repair Centre or mobile repairing shop and send them the mobile so they can do the rest.
Don’ts
- Never try to power up a wet smartphone.
- Never plug a power cable into a wet smartphone.
- Do not follow the myths you see on the web and soak your iPhone in Rice, Cat Litter, or Silica crystals. They don’t work!
Hope we could provide you all the necessary insights that are needed to save your wet iPhone. For more great content, keep visiting us. Good Day!


