
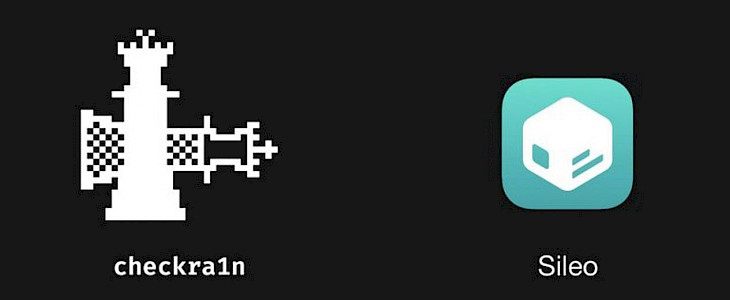
When you install checkra1n on your handset, it installs Cydia as the default package manager and the Substitute as the tweak injection. But if you are used to Odyssey or Chimera jailbreak, then you might want to use Sileo as the package manager and libhooker for tweak injection. However, checkra1n offers lots of benefits over being dependent on signed apps or certificates.
If you are wondering whether you can install Sileo and libhooker on the checkra1n device, well the answer is yes. There is a script called Odysseyra1n that can install the complete bootstrap on your checkra1n device so that you can have Odyssey-like feel on your checkra1n app.
According to the Odyssey team, Sileo and libhooker offers better performance than Cydia and other tweak injection methods. Although both the teams offer good experience, users tend to prefer Odyssey experience more so if you wish to try Odysseyra1n, then this is the right place as this macOS-based tutorial will teach you how to do that.
What you Need to Know
When you install Odysseyra1n bootstrap, it will remove Cydia package manager installed by the checkra1n jailbreak and will end up replacing several default dependencies with Odysseyra1n’s dependencies. The complete process of installing Odysseyra1n will occur in the macOS terminal app so you need to know how to use command line interface before going ahead.
Finally, you can revert to checkra1n bootstrap with Cydia but you will need to restore system defaults which might lead to erasing of all the jailbreak data and you will have to start from the scratch.

How to Install Odysseyra1n on checkra1n device
If you have already jailbroken your device and have Cydia installed, then start with the step 1. However, if you are jailbreaking with checkra1n for the first time or don’t have Cydia installed, then you need to start from step 3.
- If your device already was jailbroken using checkra1n and has Cydia installed, then you need to use checkra1n Loader app’s Restore System feature to begin from scratch.
- After your device is rebooted, jailbreak the device with checkra1n again by following the steps mentioned in this tutorial.
- Connect your handset to Mac using USB or Lightning and then open the Terminal app. Copy and paste the following code here and click on the Return key:
/bin/bash -c "$(curl -fsSL https://raw.githubusercontent.com/Homebrew/install/HEAD/install.sh)"
- When you are prompted to enter your password, enter the password that you use to log into Mac.
- Once that is done, a text will appear to let you know what is being installed. Click on the Return key to continue.
- Now, copy and paste the following command and then click on the Return key: brew install usbmuxd
- After finishing the above steps, ensure that the checkra1n device is still connected to your Mac and copy and paste the final command in the terminal app and click on Return key to complete the installation:
/bin/bash -c "$(curl -fsSL https://raw.githubusercontent.com/coolstar/Odyssey-bootstrap/master/procursus-deploy-linux-macos.sh)"
- You will be prompted to enter to continue, do so.
- After the installation process begins, you will be asked to enter your handset’s root password. Default password is alpine that you should change afterwards.
- Again, you will be asked to enter the password a second time. Do so.
Once all the steps are complete, you will be able to see Sileo on your Home Screen beside the checkra1n Loader app. You are now running Odysseyra1n on your handset!


